Monday, 25 July 2011

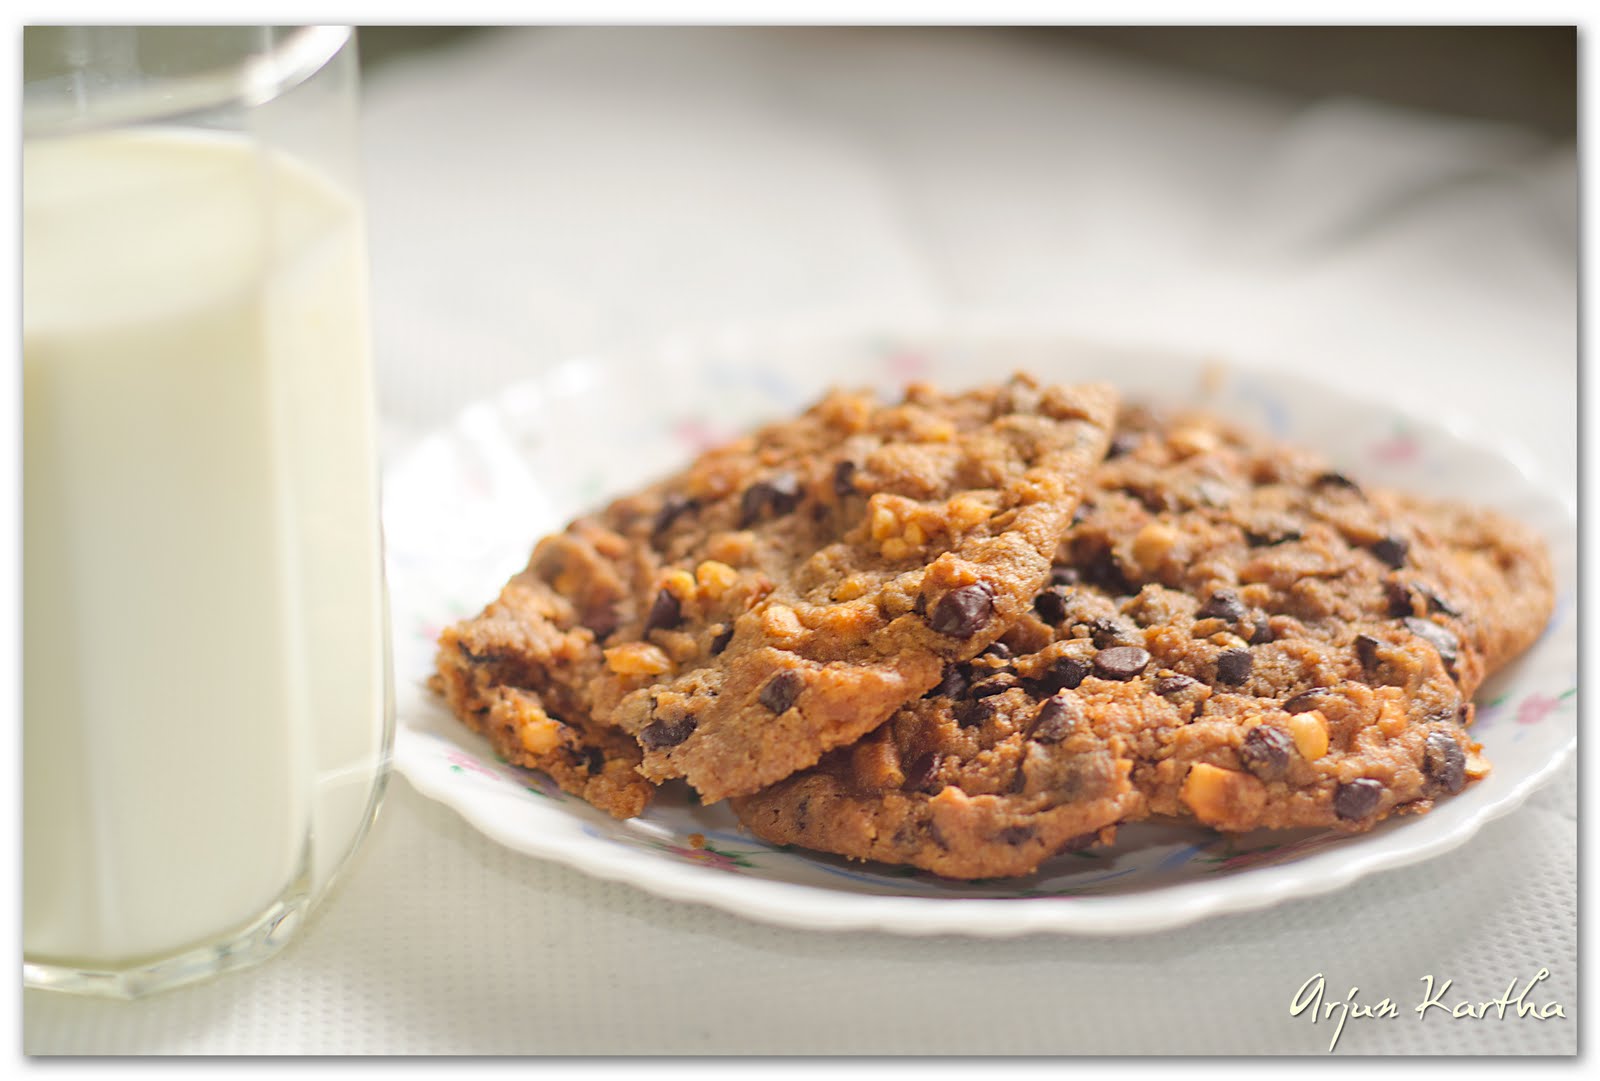
Peanut Butter Chocolate Chip Cookies


These are officially my favourite cookies in the whole wide world. Except for any variation of Honey & Oat cookies. Or maybe Blueberry. OK. OK. I know I’m a glutton! I love cookies.

Anyhow, I tragically lost my recipe a few years ago. The original was given to me by my “nutritionist” aunt. I’m sure it was an accident because the ingredients went against everything she ever taught us (or rather, lectured us about!).

To my delight, her son’s girlfriend, Katie, shared her own recipe with me last week. And the results were amazing! Thank you KVL!

Here’s what I used:

2 cups peanut butter (crunchy/ chunky – different brands have different names for it. It should have pieces and not totally creamy/ smooth)
2 cups powdered sugar (1 white, 1 brown)
2 tsp baking powder
1 tsp vanilla essence
1 tbsp oil
¼ cup water
2 eggs
300 gms milk chocolate chips

First, I pre-heated the oven to 150 C/ 350 F and prepared the cookie tray. I lined it with butter paper and also rubbed some vegetable oil on it.


I used Sundrop Peanut Butter (henceforth called PB). Since I wasn’t eating it on a sandwich (yummy PBJ sandwiches!!), I didn’t bother running to the specialty store to buy a tub of imported Skippy PB.


I poured it into my measuring cup...


Added the water and oil. Gave it a good mix. This is important because PB is so heavy and sticky, it needs to loosen up a bit so that it’s easy to mix in with the other ingredients.


Added the vanilla essence and mixed again...


In a bowl, I mixed the two sugars & baking powder to combine well... (Oh and PS – don’t worry if you can’t get your hands on brown sugar. When I used to make it earlier, I just used white. Brown adds to the flavour but your cookies will still be awesome without it.)


I made a well in the middle and cracked in the eggs...


I added the PB mixture...

Can you see how chunky it is? I LOVE chunky PB...!!! It makes me feel all warm & fuzzy! AK still doesn’t see what the fuss is about, even though he devoured half the batch as soon as it was out of the oven! Anyway, I tried mixing it with a spoon but it was to hard to handle. So I just used my hands to combine and knead the mix...


I then added the chocolate chips. Two things to note here... I added them last because it’s so hot in India that I didn’t want them to melt with all the mixing and kneading. Secondly, earlier when I didn’t have access to chips, I would buy a block of regular cooking chocolate and chop it up. The brand that was available to me was Morde. It’s a bit painful to chop but it works just fine. Depending on my mood, I often prefer those uneven chunks to perfectly sized chips!


I had 3 x 100 gm packs so I added them 1 at a time, mixing well between batches...


Using my ice-cream scoop, I placed 8 mounds on the prepared cookie tray. Using the scoop ensures more or less equal sized cookies.


 Also, they expand and spread during baking, so they need to be spaced well.


According to AK, these looked like funny choco-chip pakoras (savoury fritters)! So using my hands, I then picked up each mound and rolled it into a smooth ball... Flattening it just a little when replacing it on the tray...


I popped them into the oven for 15 mins. They came out like this, still slightly soft and squishy...


I allowed them to cool on the tray for about 10 mins, until they hardened slightly. 


Then I carefully moved them onto the cooling rack to let them cool for another 30 mins. This is really important because if you put away cookies that haven’t cooled properly, they will become soggy...


I made 3 batches and got (8 x 3) 24 large cookies, which I packed away into an airtight box. If AK were to allow them to last, they would be good for atleast a week...


Verdict: PB is best consumed in these cookies!! Thanks again KVL!
Serving Suggestions: Apart from the traditional dipping in milk/ coffee, these go extremely well crushed over vanilla ice-cream!!

Sunday, 24 July 2011

Lemon & Orange Cake with Marmalade Topping

So this post is just an addendum to another! I made my Mom's birthday cake on a Monday, between getting home from work and showing up at Mom's for dinner. And the blog was only a week old by then. So I'm posting this as an afterthought. I promise to make it again and document it PROPERLY for the blog. But in the meanwhile, this is for those who can variate with not-so-detailed instructions!!

In the meanwhile, here's a small clip from her cake cutting, just to show you. I muted the incessant chatter because it was just TOO random!


Refer to Adit's birthday cake recipe post and then note the variations. The variations are only in some of the ingredients, but the method is exactly the same.
1. Instead of 3/4 cup cocoa, add the same quantity of flour, i.e. the dry/wet ingredient ratio of the cake must always be maintained. If you are taking away 3/4 cup of dry ingredient (cocoa), it needs to be substituted by 3/4 cup flour.

2. Instead of vanilla essenced, use 2-3 drops of orange essence, if handy. But not necessary.

3. Zest (finely grate the yellow peel without the white pith inside of) 4 lemons. Add this zest along with the wet ingredients (egg, butter, milk).

4. Juice those zested lemons and reserve for the topping.

5. Instead of 1 cup of boiling water/ brewed coffee, use 1/2 cup (Tropicana) Orange juice and 1/2 cup water. Boil them together and follow the original instructions.

Bake as instructed in the recipe. Cool and remove from pans.

For the topping, put the following in a microwave safe bowl:
4 tbsp orange marmalade
Juice of the four lemons

Warm this in the microwave for 30 secs. Stir and pop back in for 30 secs. The mix should be soft and slightly runny, but not watery.

Mix well and pour evenly over the top of the cake. Slice & Serve!!

Apple Upside Down Cake


So this past Friday was my Dad’s birthday. Since AK & I were both under the weather, we   couldn’t manage his gift & cards on time. But I couldn’t bear to go without a cake. Having made Lemon & Orange for my Mom, Mocha & Nutella for Adit (my brother), I decided to find a new Apple Cake recipe! (And yes, if you haven’t noticed, July is full of birthdays in my family – including mine!)

Getting back to the subject, my old and trusty apple cake recipe wasn’t very inspiring on that particular day. Hunting around in my downloaded and saved stash, I found this recipe from Simply Recipes.

I modified it a little, but it still had the desired effect. It helps that my Dad loves anything with apple and cinnamon in it. Also, his darling daughter can do no wrong! Anyway, here’s what I got:


The main reason I modified it is because the original recipe calls for cornmeal (makki ka atta). In this season, my local grocer had none. And I had no time to go to chakki. So I substituted the cornmeal quantity with more flour, maintaining all the other ingredients & quantities. Oh and I also added cinnamon. For me, no apple dessert is complete without it!!

 I then used the method that I use for my Hershey’s cake (modified in this blog as Rich Mocha Cakewith Nutella Frosting).

This is what you’ll need:

For Caramelised Apples
4 medium apples
½ cup granulated white sugar
2 tbsp butter

For the cake batter
¾ + 1/3 cup flour (the math is complicated so I just measured the flour twice. 1/3 is the qtty for cornmeal, which I replaced with flour)
½ tsp salt
2 tsp baking powder
1 tsp cinnamon powder
¾ cup ground/powdered sugar
1 tsp vanilla extract
6 tbsp butter, melted
1/3 cup milk (I used toned/ 2% milk. That’s what we have at home. Whole/ full cream milk is better though)
½ cup boiling water
2 large eggs

First I lined my 9” round cake tin with butter paper. I couldn’t get my hand on parchment paper last weekend, so I bought butter paper instead. Seems to work just as well.

(For absolute beginners, invert the tin on butter paper, trace the shape and cut with a scissor. Then press it down at the bottom of the tin so that approx 1” comes up the side of the pan).


I then drizzled some melted butter on the paper and spread it with my fingers. Ensure the paper and the sides of the tin are well greased. The paper will stick to the pan nicely.


I then turned on my oven to 150 C/ 350 F. It was then time to caramelise the apples! Yummy!

I peeled the apples and cut each into 8 wedges. That is, quarter the apple and then halve each piece. (I unsuccessfully racked my head to think of the word for this)!!


In a non-stick skillet, I added the 2 tbsp of butter and allowed it to melt on medium heat.


Then I added the granulated sugar.


I gave it a stir with a wooden spoon to mix up the sugar and butter.


I continued to heat it on medium, avoiding the urge to stir until it slowly melted and mixed further with the butter. I occasionally swirled the pan around rather than use the spoon too much.From all I have read, stirring too much is disasterous for caramel.

Eventually it started to brown and look like this...


I gave it one last stir and dumped the apples in the mix. The sugar/ caramel will seem to clump up, but don’t worry. It will sort out!! Just give it a good mix to coat the apples with as much of the clumpy goo as you can...


I covered and cooked the apples on medium heat for about 6-7 minutes. The apples start giving out their juice. The whole mixture became all juicy with a fair amount of liquid in the pan. The clumps disappeared.


I then cooked these without the lid until the liquid/ caramel thickened and coated the apples nicely. I got a little impatient and increased the heat a little. It took about 9-10 minutes for this to happen. Then I poured these into the prepared cake tin and allowed it to settle while I got the batter ready.


For the batter, I measured and placed the flour, baking powder, salt & cinnamon in a sieve/ atta chhanni.


I sifted them together THREE times. As explained before, this ensures that the baking powder blends evenly with the flour (for even rising of the cake) and allows air into the mix (also essential for the cake to rise).


I placed this mix in a bowl along with the ground sugar. I made a well in the centre and cracked the eggs into the well. (I hope you remember that the eggs should be of room temperature. Or at least taken out of the fridge half hour before beginning).


I then added the melted butter and milk.


Gave it a brief mix. Another reminder: beat/ mix cakes ONLY in one direction. Take your pick of clockwise/ anti-clockwise.


Added the vanilla and mixed it some more - As an after-thought, since I had included cinnamon in the recipe, I could have omitted the vanilla. No need for both. (The original recipe didn’t have cinnamon).

(Yes I know this Vanilla “Essence” sucks and I promise to find/make better and authentic vanilla extract soon.)


The batter was of dropping consistency (thick-ish so it should drop in a "blob"), like this:


I then added the boiling water and mixed again, just until all combined. It was now a much thinner batter, like this:


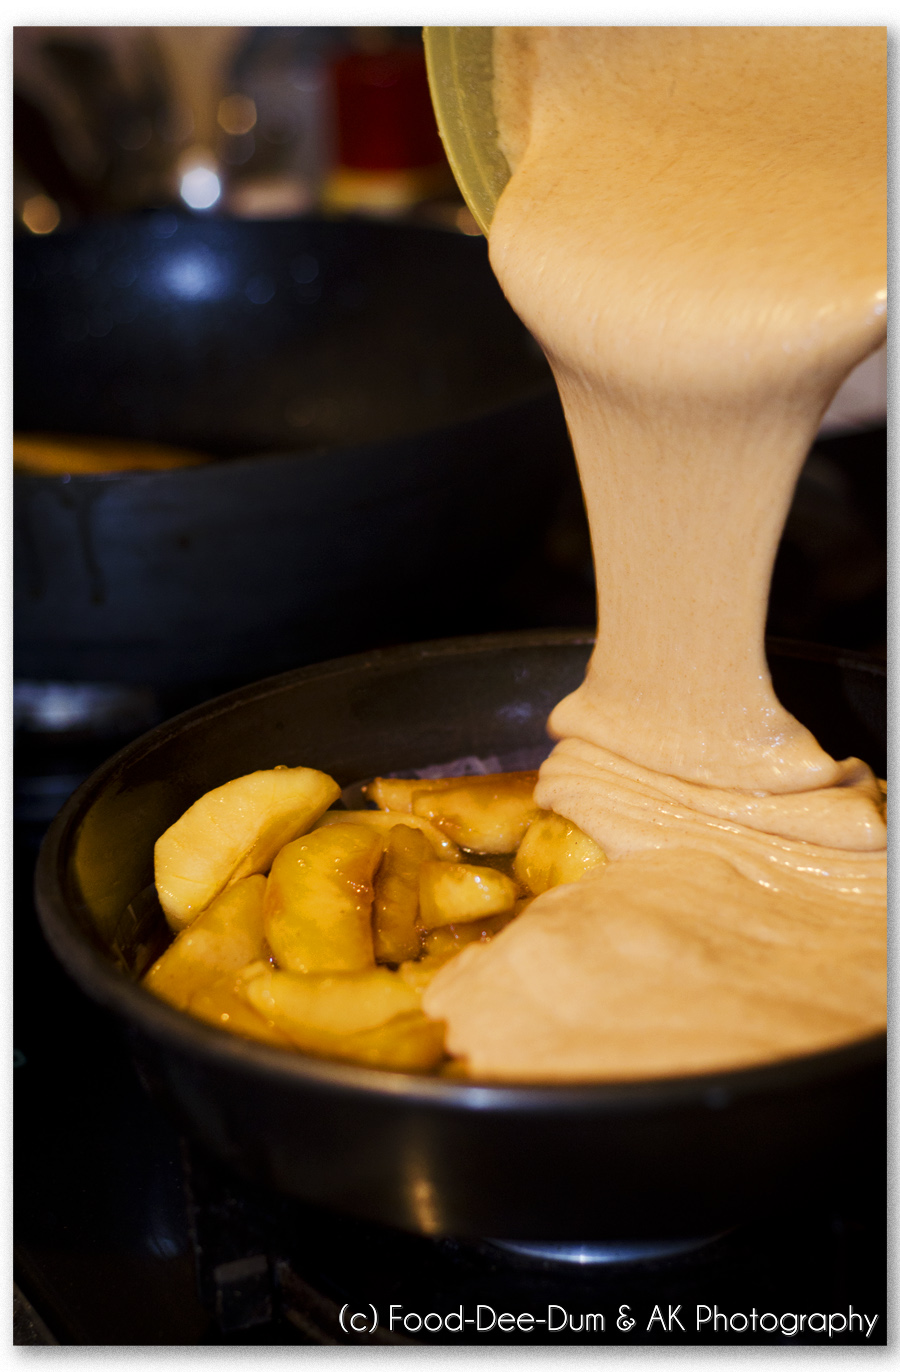
I poured this batter over the apples in the cake tin and popped it in the oven for the recommended 40 mins. (Give the tin a gentle shake so that the batter spreads evenly over the apples and seeps into any gaps between the apples).


After 40 mins, I poked the centre of the cake with a knife (because this was an upside down cake. Normally, I would have used a toothpick so that no noticeable marks were left!). For the first time ever, a cake was ready at the EXACT time recommended. 40 mins flat. Knife emerged absolutely clean, i.e. batter and crumb free, from the centre of the cake.


I let it cool for 10 mins. Ran a knife around the sides (between the cake and the pan). Placed a plate over the tin and inverted the tin. The cake plopped out onto the plate, after which I carefully peeled off the butter paper to get this:


Got my dad to cut the cake and then finally got my very own slice, with a scoop of vanilla ice-cream (although it was almost suicidal to attempt the ice-cream with an already sore-throat!!).


I say it was worth it!!

Monday, 18 July 2011

Sunday-Indian Lunch Menu


This past week, I have some cousins and their kids visiting from Australia and Kuala Lumpur. I had them over for Sunday lunch and racked my brain to figure out a nice “Indian” meal that they wouldn’t typically get where they live. So this was my Menu (not a 100% Indian by any stretch of the imagination, but it seemed to work):

Special Drinks:
Mojito & Virgin Mojito (for the kids)

Hors d’oeuvres:

Main Course:
Pao-Bhaji (for the vegetarians)
Green Salad
Boondi Raita

Dessert:
Blackcurrant Cheesecake (prepared by my nieces aged 14, 14 and 6)

Click on any of the above for the recipe. Sorry I don’t have too many photos. I just couldn’t talk AK into taking more than the Banoffee photos. Hence, few and not-so good photos are on offer for the other recipes, taken by yours truly!

(The quantities were enough for 9 adults + 3 children + 1 infant – who obviously didn’t eat anything!!)

Hummus


I always thought that Hummus was an extremely difficult thing to make. But a simple chat with my Bua (aunt) changed my mind, and in a way, my life! It’s one of my favourite dips – I can have it on crackers, on toast, in chicken wraps and obviously with pita bread!


Here’s what I used:
½ cup chickpeas/ white (safed) chanas
3 cloves garlic
1 tsp salt
½ tsp red chilli powder
1 tsp roasted cumin (jeera) powder
Juice of 1 lemon
2-3 tbsp olive oil
2 tbsp Tahini (sesame paste used for Middle Eastern cooking – I don’t always have it at home so I don’t always use it in the hummus. But it does add a wonderful smoky flavour. It’s almost “to-die-for”)
Fresh chopped dill, to garnish

I rinsed the chickpeas & placed them in a bowl. Covered them with water, put a lid over the bowl and let them soak overnight.

By morning, they were doubled in size. I then placed them in a pressure cooker (with the same water) and ½ tsp salt. I cooked them for 4 whistles. Allowed the cooker to cool before opening the lid.

Once the chickpeas were cool, I drained the water out (reserving a little) and placed them in the mixie/ food processor along with the garlic and the remaining salt, red chilli and cumin. Pulsed till ground and mixed coarsely. (Reserve some of the boiling liquid).


I then added the olive oil, lemon juice and ¼ cup of reserved water. (This is where one must add the tahini if using).

I pulsed some more until well mixed and ALMOST smooth. I like hummus with a little texture, so I usually stop processing JUST before it becomes a smooth paste!

To serve, I placed it in a dish, drizzled on some olive oil, sprinkled a little red chilli powder and cumin powder. I also sprinkled on some chopped fresh dill. Ideally, it should be parsley. But you can also use coriander/ spring onion greens.

I served it with pita bread wedges and savoury (salted) crackers...